Principle of Air Micrometer
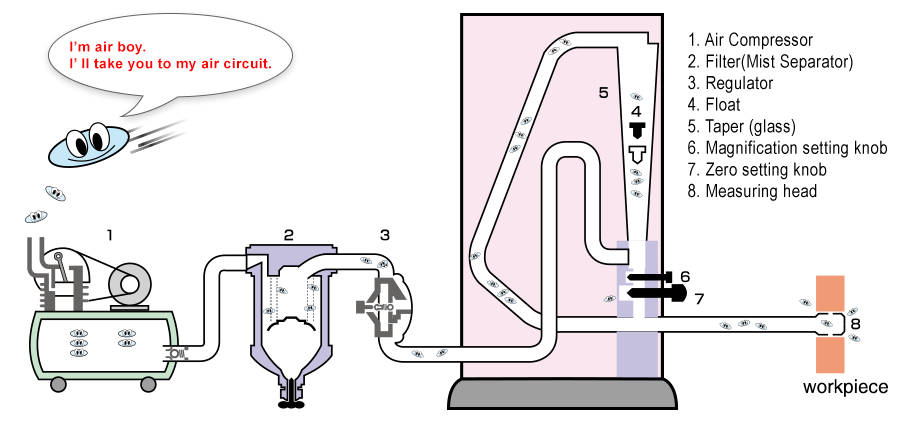
What is Air micrometer?
Relative measuring instruments which can measure dimensions of various workpices like machine parts by using air flow is called Air Micrometer.
It comes in Flow type and Back Pressure type mainly.
Here we explain flow type-as illustrated in the above fig. The compressed air from compressor is cleand by a filter, and then into a regulator
to keep the pressure constantly. After that, the air goes through taper tube, and blows up of a nozzle. Next, when the clearance between
the nozzle part and the workpiece changes, the amount of air coming out of the nozzle also chenges, causing the height of a float to change.
By reading the graduated positions of the float, the actual dimensions of the workpieces can be determined. This is the princible.
ISSOKU’S Air Micrometer is supported by our many years of precision gauge manufacturing techniques, and it is of highly appraised for its reliability and precision,
making it of great value in quality control and increased efficiency in a world-wide industrial world.
ISSOKU’S AM’s four basic models- the Column Model(flow type), dial model(back pressure type), Digital Model(back pressure type) - can be used not only
to measure dimensions, but also for complicated profile measuring automatic measuring, automatic sorting and etc., making them practical over a wide variety of uses.
The measuring head can be standardized according to measuring factors and also by order-made designs to meet various measuring requirement.
Main advantages of the Air micrometer
1. Measured by air blow, an accurate measured value can be obtained with out being affected by oil or dusts.
2. Basically, as a result of non-contact measurement, the workpiece to be measured is not corrupted.
3. With high quality and supperior stability, it is easy to operate.
4. Many kinds of measuring heads are available, for a wide range of measuring purposes.
5. A unique taper tube keeps the float from sticking to the upper area. Furthermore it is easy ti remove and fabricate (column type).
6. Because of "block-built method" (column type), it can easily be set up to measure multiple places.
7. The back pressure type has superior stability of measured value in measurement against change of air pressure.
8. In addition to the basic functions, other automatic measuring functions such as class sorting and data output are installed.
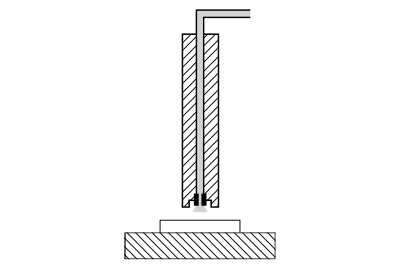
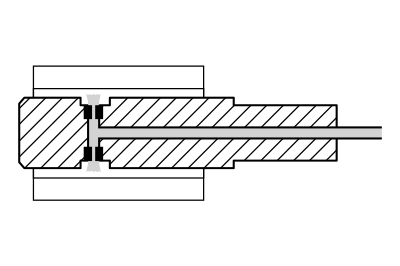
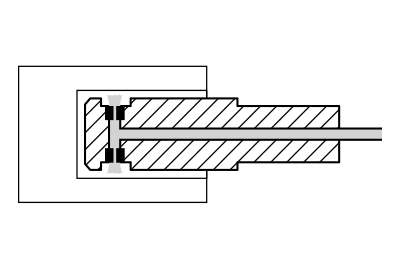
Measurement example of Air micrometer
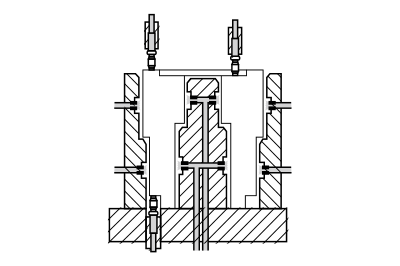
Measurement as below can be applied by using various measuring heads.
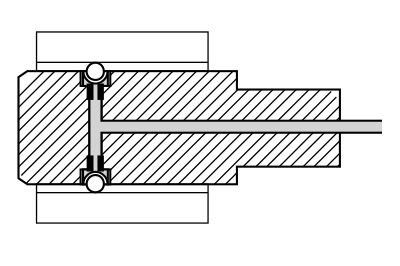

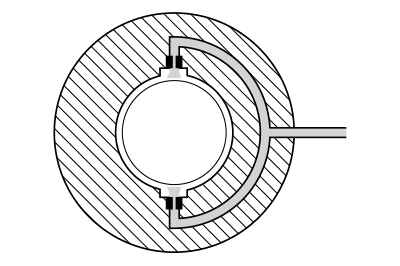


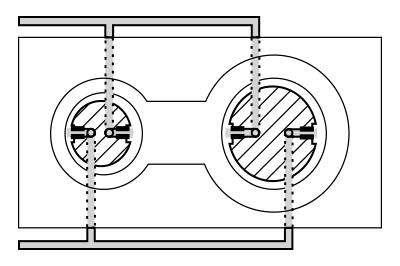

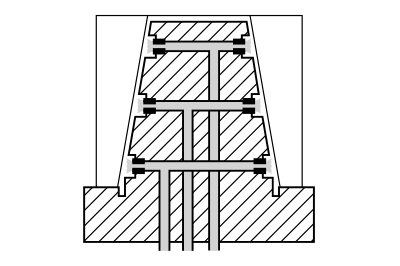
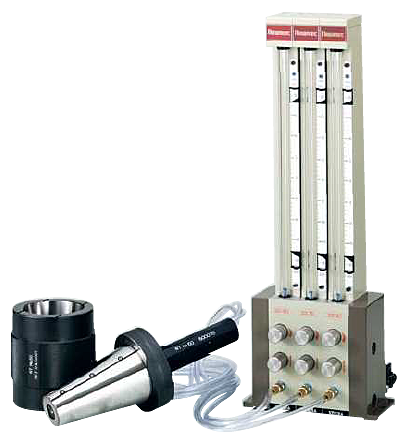
Column Model Air Micrometer flowmec (PAT.)
Flowmec is a precision relative measuring instrument that measures changes
in airflow running through a slight clearance between workpiece and
measuring head as read by the expansion of a float in taper tude.
The measuring system consists of flowmec main body(a filter unit and touch
tube are standard accessories), measuning head and masters.
ADVANTAGES
How to fabricate multiple columns
When performing multiple places measurements, flowmec can be easily fabricated to multiple columns be adding to
basic units of NO.3100 required and right & left feet.
The above picture shows a three colums flowmec with a measuring head and master for taper degree measurement.
| Specification Model | Number of columns | Width mm | Deepth mm | Hiegth mm | Weigth kg | 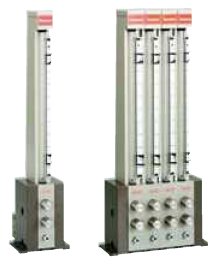 |
| No.3100 | - | 34 | 192 | 475 | 2.2 | |
| No.3101 | Single column | 104 | 3.8 | |||
| No.3102 | Double columns | 138 | 6.0 | |||
| No.3103 | Three columns | 172 | 8.2 | |||
| No.3104 | Four columns | 206 | 10.4 | |||
| No.3105 | Five columns | 240 | 12.6 |
Indication of number of columns and magnitication is required when placing an order.
Ex) No.3103(there columns)X5000
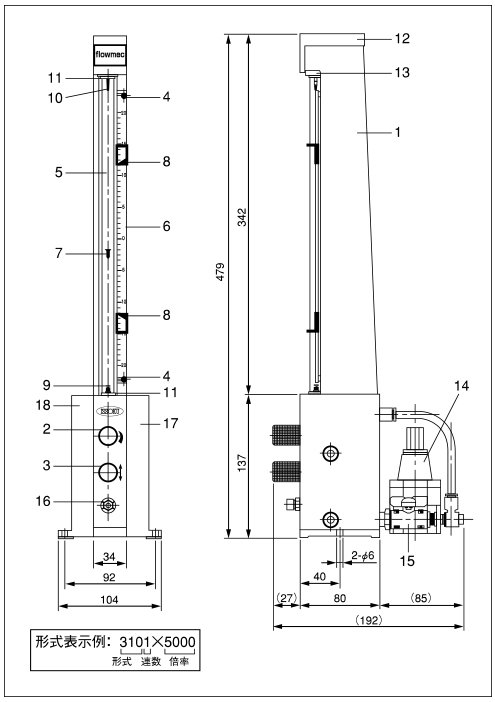
Part Names and Dimensions
 |
|
| Note: Please contact us if you would like to change the number of colums adter purchasing this Product. | |
Specifications
| Standard Magnifications | times | X10000 | X5000 | X2000 | X1000 |
| Measuring range | µm | 20 | 40 | 100 | 200 |
| Effective measuring range | µm | 15 | 30 | 70 | 150 |
| Scale Volume | µm | 0.5 | 1 | 2 | 5 |
| Scale width | mm | 5 | 5 | 4 | 5 |
| Float color | Blue | Black | Black | Green* | |
| Max. Measuring error | µm | Less than 2% of effective measuring range | 4 | ||
| Response time | sec. | Within 1.5 (value according to conditions specifled in JIS B7535) | |||
| Tolerance marker | 2 | ||||
| Measuringnt head connecting screw | M10x0.75 male | ||||
| Air pressure supplied | kPa | 245 ~ 785 | |||
| Basic unit size | mm | 34(W) x 477(H) x 192(D) | |||
| Single column unit size | mm | 104(W) x 479(H) x 192(D) | |||
| Basic unit weight | kg | 2.2 | |||
| Single column unit weight | kg | 3.8 | |||
| Note: The upper damper is exclusively for the specifications of the standard x 1000 magnification. | |||||
Standard Accessories
• Filter unit (Including a mist separator, ODØ8 touch joint for outlet)
• Touch tube, 2m length (for use in cut off valve amd filter unit connection)
 |
|
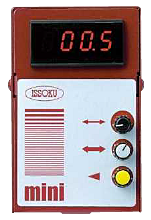
Previously the air pressure of flow type air circuits was limited due to the use of tapered glass tubes.
Now through the use of a backpressure type circuit, higher reliability of the measuring. head and furthermore, eliminating oil or dust of measuring workpices.
Moreover, since it is a differential pressure type comprising of a parallel bridge circuit trough the addition of a zero adjustment circuit(colored red) to the back
pressure type air circuit, it is less influenced by pressure fluctuations in air supply, which can result in higher sensitivity and a wider range of measurement.
ADVANTAGES AND FUNCTIONS
Mist separator and base unit are option.
DESCRIPTION
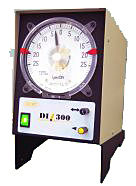
Analogmeter with high visibility applied,
thus workshop load reduced by easy read.
DI-300 can realize high sensible and stable measurement applying differerntial
pressure type which has almost no influence by change of air source supplied.
ADVANTAGES
*As to "differential pressure type", please refer to catalog of Digital Model Airmicrometer "mni".
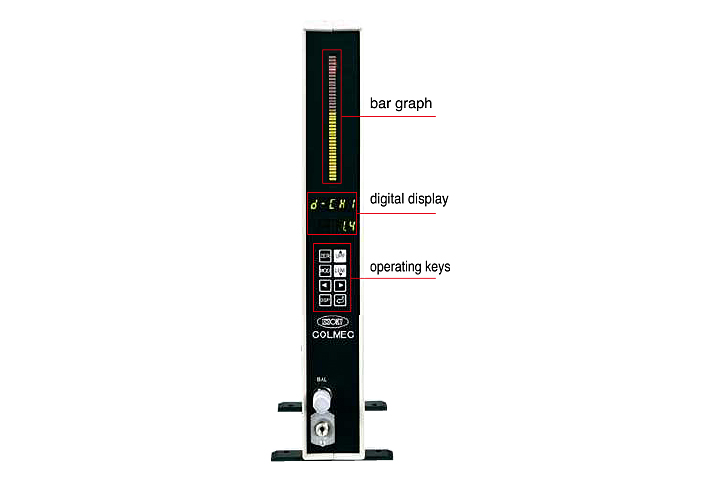
Column Model (BAR-GRAPH TYPE) Air/Electronic Micrometer COLMEC® (PAT.)
DESCRIPTION
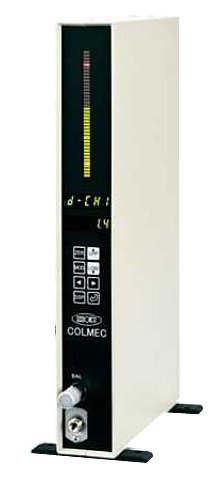
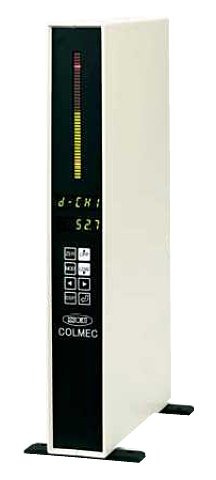
The Column Model(bar graph type) Air Micrometer and Electronic Micrometer ”COLMEC” is easy to use in production areas or inspection rooms.
Two specifications, the Air Micrometer and Electronic Micrometer, make various measurement possible.
In addition to the dimensions, profile, position, and runout of the workpiece can be measured by multi-column combination can be quickly and accurately.
A single chip microcomputer provides this product with outstanding cost performance. All models come equipped with RS-485 output,
so data can be transmitted to a computer or parameters set-up can be operated via a computer, thorugh the interface.
They are also shipped with ranking assessment output, extermally-controlled input and analog input for temperatre correction,
enabling them to handle many factory automation requirements such as automatic measurements.
ADVANTAGES